Your First Model#
Note
In this tutorial we refer to the different parts of the gaphor interface: Model Browser, Toolbox, Property Editor.
Although the names should speak for themselves, you can check out the Getting Started page for more information.
Once Gaphor is started, and you can start a new model with the Generic template. The initial diagram is already open in the Diagram section.
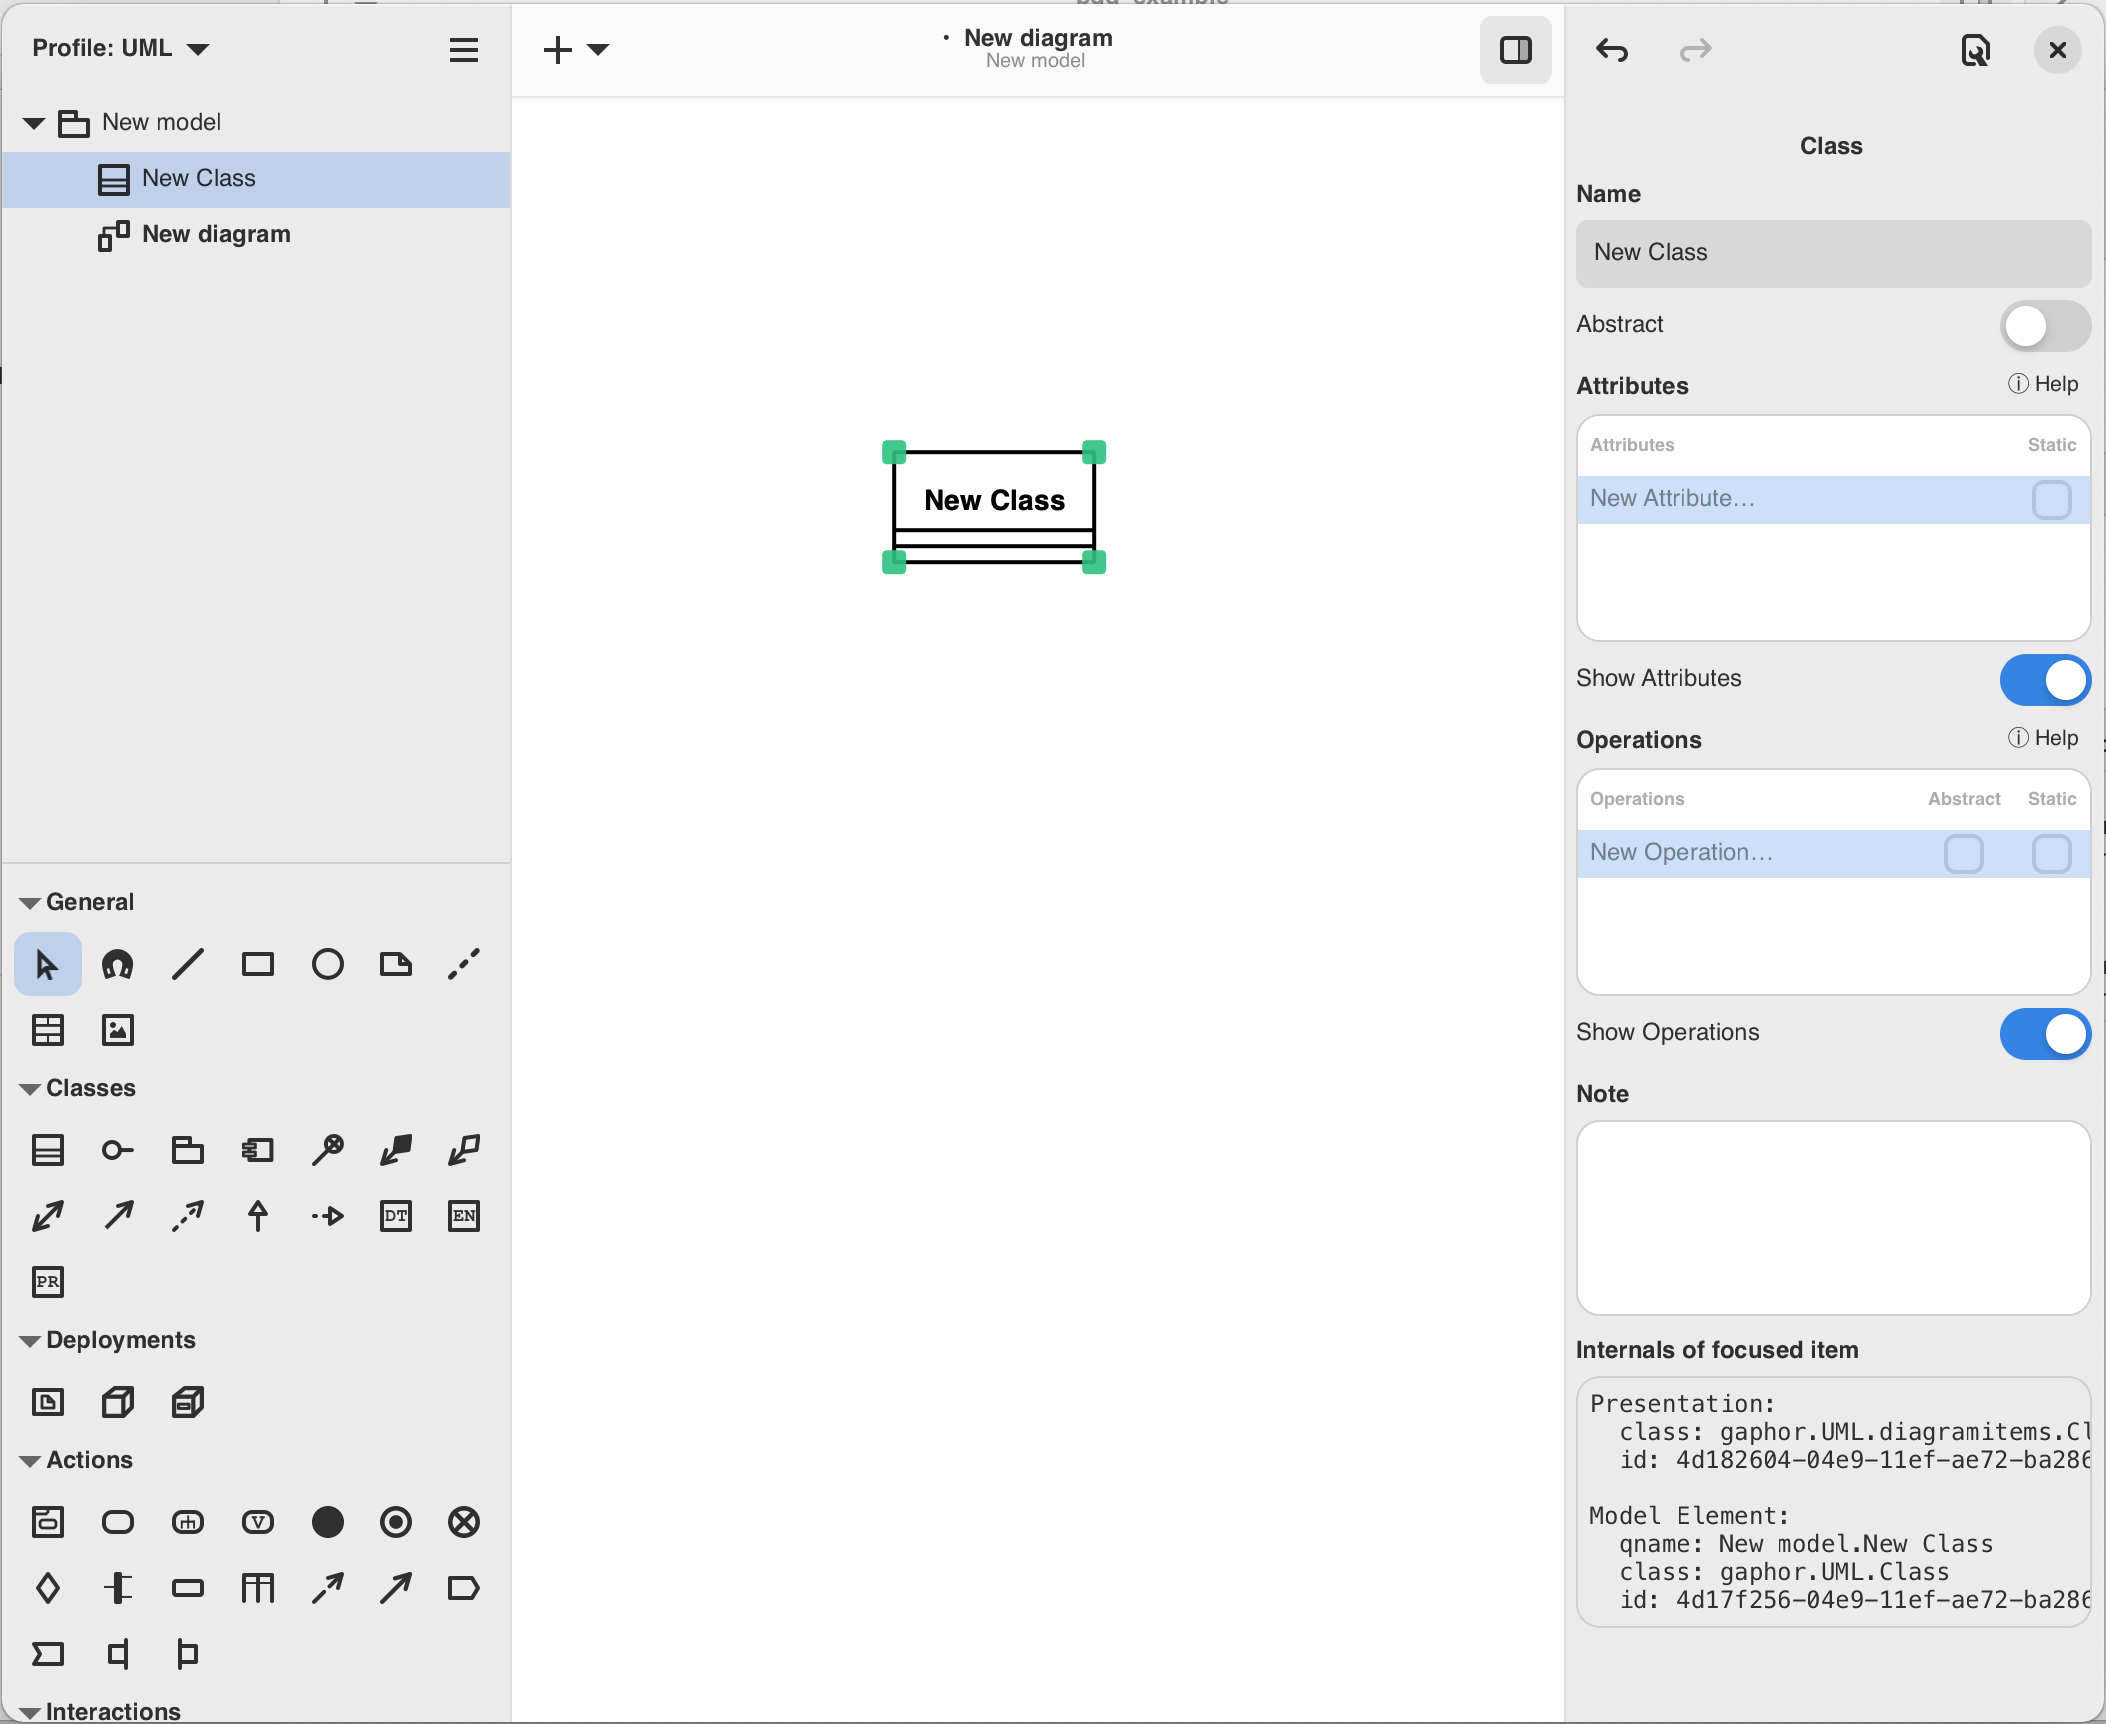
Select an element you want to place, in this case a Class ( )
by clicking on the icon in the Toolbox and click on the diagram. This will place
a new Class item instance on the diagram and add a new Class to the model – it
shows up in the Model Browser. The selected tool will reset itself to the
Pointer tool after the element is placed on the diagram.
)
by clicking on the icon in the Toolbox and click on the diagram. This will place
a new Class item instance on the diagram and add a new Class to the model – it
shows up in the Model Browser. The selected tool will reset itself to the
Pointer tool after the element is placed on the diagram.
The Property Editor on the right side will show you details about the newly added class, such as its name (New Class), attributes and operations (methods). The Note field can contain any text you wish to associate with the element, (this will not show on a diagram).
It’s simple to add elements to a diagram.
Gaphor does not make any assumptions about which elements should be placed on a diagram. A diagram is a diagram. UML defines all different kinds of diagrams, such as Class diagrams, Component diagrams, Action diagrams, Sequence diagrams. But Gaphor does not place any restrictions.
Adding Relations#
Add another Class. Change the names to Shape and Circle. Let’s define that
Circle is a sub-type of Shape. You can do this by selecting one and changing
the name in the Property Editor, or by double-clicking the element.
Select Generalization ( ).
).
Move the mouse cursor over Shape. Click, hold and drag the line end over
Circle. Release the mouse button, and you should have your relationship between
Shape and Circle. You can see both ends of the relation are red, indicating
they are connected to their class.
Optionally you can run the auto-layout ( → Tools → Auto Layout) to align the
elements on the diagram.
→ Tools → Auto Layout) to align the
elements on the diagram.
Creating New Diagrams#
To create a new diagram, use the Model Browser. Select the element that should
contain the new diagram. For now, select New Model.
Click the New Diagram menu ( ) in the header bar.
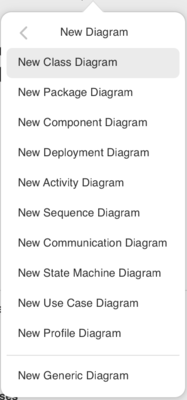
Select New Generic Diagram and a new diagram is created.
Now drag the elements from the Model Browser onto the new diagram. First the
classes Shape and Circle. Add the generalization last. Drop it somewhere
between the two classes. The relation will be created to the diagram.
Now change the name of class Circle to Ellipse. Check the other diagram. The
name has been changed there as well.
Important
Elements in a diagram are only a representation of the elements in the underlying model. The model is what you see in the Model Browser.
Elements in the model are automatically removed when there are no more representations in any of the diagrams.